Acrylic Pour, cricut

Holiday Acrylic Pour Artwork!

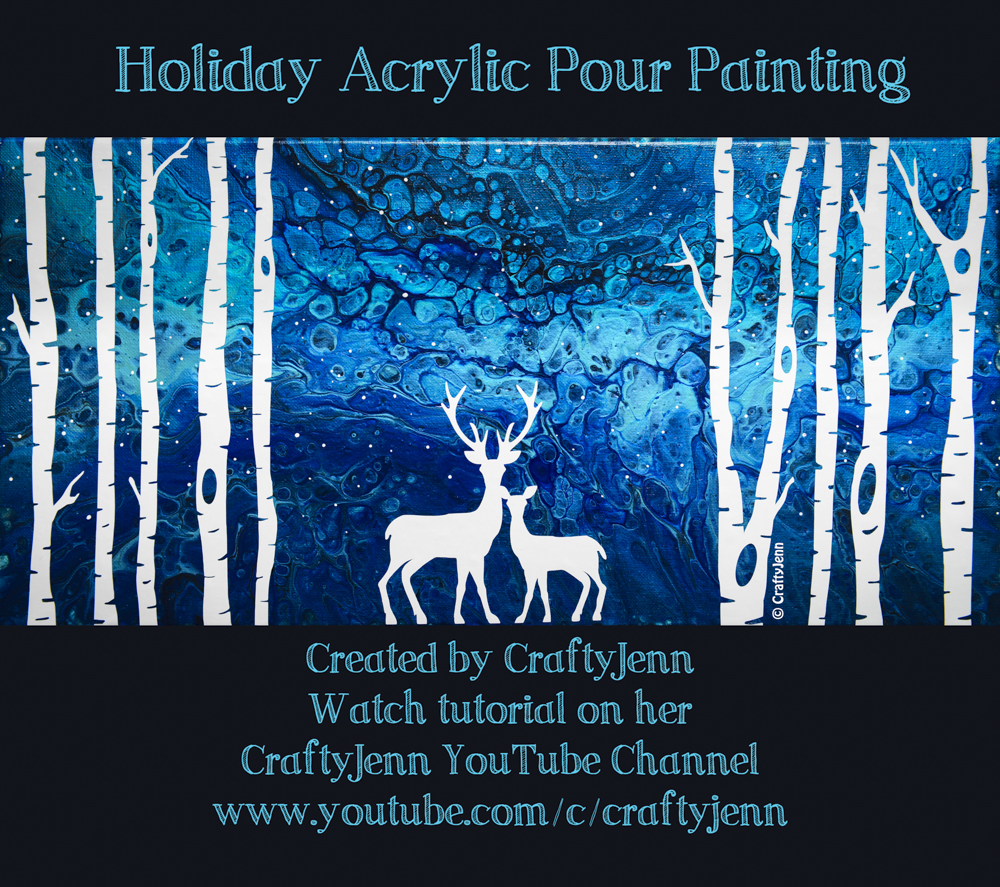
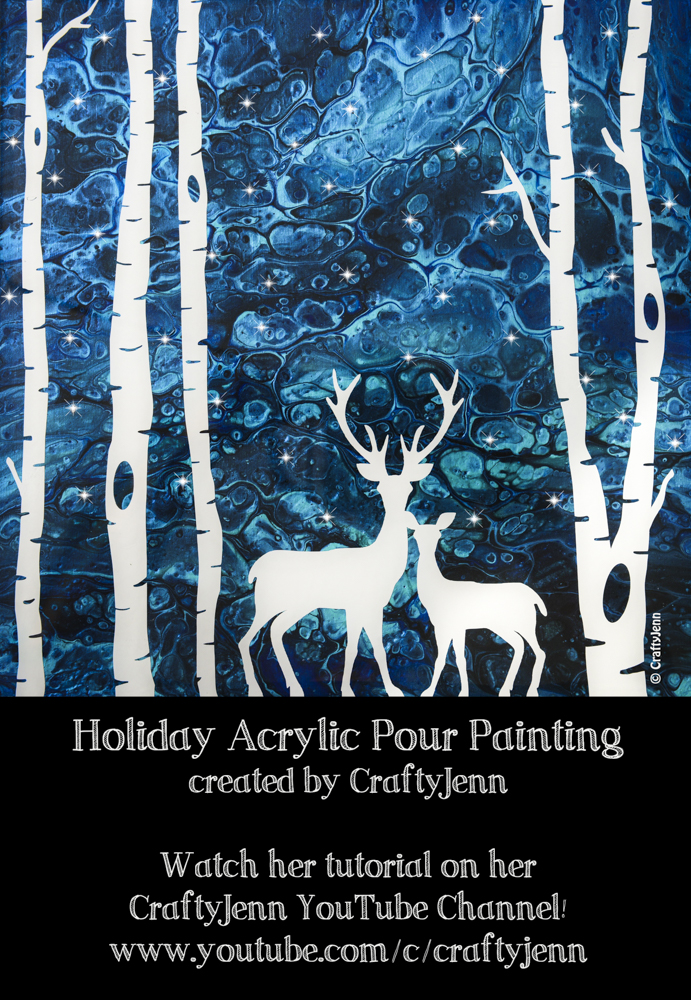
Hello everyone! I hope you are all doing well and in the festive holiday mood 🙂 I had so much fun creating this Holiday Acrylic Pour piece and wanted to share with all of you how I created it. It’s a great Christmas or holiday project to do yourself or with your family.

Also, I now use the LoliVefe Jumbo Silicone mat to work on as it’s super easy for clean up, great for acrylic pouring on, perfect for crafts with kids and will protect your table top surface. If you’re interested in one please visit; https://lolivefe.myshopify.com and use my code:    Jenn5    to get a 5$ discount on any Jumbo or Mega Mat!!

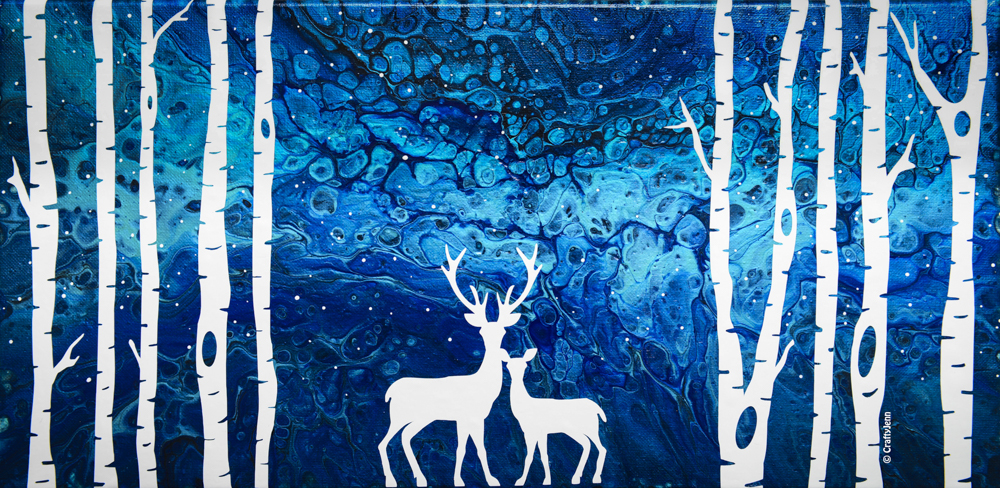
So for my holiday pour I used these paint colors; FolkArt Aqua Flash, Artist’s Loft Brilliant Blue, and Artist’s Loft Black.

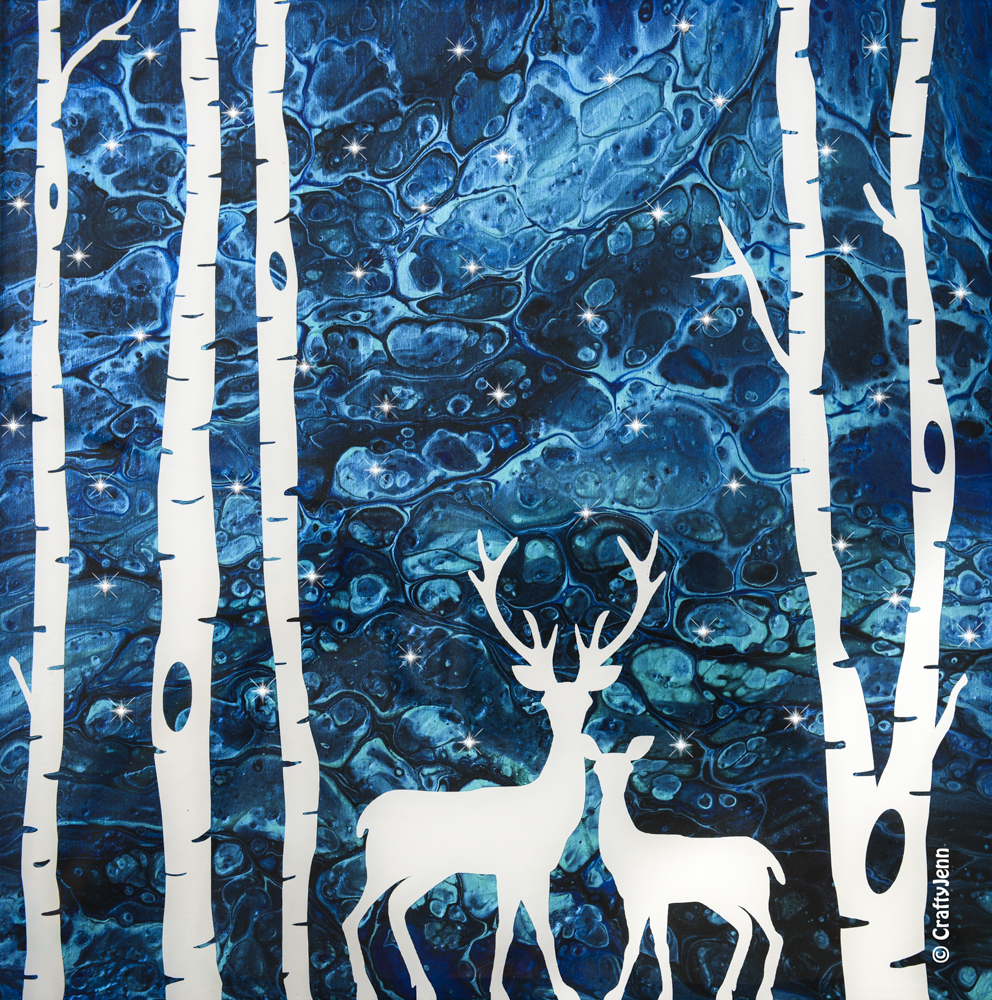
I did a dirty cup pour on a 10×20 inch canvas I bought at Michaels. I LOVE the way these colors worked together!! I think it looks like a blue Northern Lights! I wanted the background to be dark like the night sky but with acrylic pouring it adds depth and character than just painting a dark blue sky. If you are interested in acrylic pour painting and how I mix my paint check out my “Acrylic Pouring for Beginners” eBook which details everything you need to get started including links to supplies. You can also visit my CraftyJenn Amazon Store for all your supply need too 🙂

Once the Acrylic Pour Painting dried I cleaned it with a little Isopropyl Alcohol to get all the silicone off, then added a coat of Liquitex Gloss Varnish and let that dry. I used my pre-cut vinyl of the trees and deer for the 10×20 canvas that you can get on my CraftyJenn Art Store. I applied some more Liquitex Gloss Varnish and then peeled the vinyl off the paperback and applied it to my painting in the wet varnish. You can move your vinyls around until you get them in the place you want. Once I finished applying all my vinyls I let it dry and painted a few tiny white dots everywhere to make it look like stars though it looked more like falling snow which I was totally happy with! I made the dots small and some larger to add some variety to the stars/snow. Let that dry and added a few coats of Liquitex Gloss Varnish over the whole painting including the vinyl. And Voila! It’s my favorite Holiday Painting yet!!!

APtreesdeer_201911270008-Edit

You can watch me create this beautiful holiday artwork on my

CraftyJenn YouTube channel!


APtreesdeer_201911270008-Edit-2

Acrylic Pour, cricut

Holiday Acrylic Pour with Starry Lights!

Hello everyone! I created a super pretty Holiday Acrylic Pour with some trees and deer vinyl and starry lights! I wanted to share with you how I created this beautiful piece.

Also, I now use the LoliVefe Jumbo Silicone mat to work on as it’s super easy for clean up, great for acrylic pouring on, perfect for crafts with kids and will protect your table top surface. If you’re interested in one please visit; https://lolivefe.myshopify.com and use my code:    Jenn5    to get a 5$ discount on any Jumbo or Mega Mat!!

I started with a 12×12 inch wooden canvas from Michaels. I prepped the canvas by adding a layer of gesso. Then I mixed up my paints; FolkArt Aqua Flash, Artist’s Loft Brilliant Blue and Artist’s Loft Black. If you are interested in how I mix my paints I have an “Acrylic Pouring for Beginners” eBook that explains my formula and how to get started. After I mixed my paints I did a dirty cup pour onto the wooden canvas and let that dry over the next few days. It turned out SO pretty!! I wanted a dark night sky as a background and couldn’t be happier with the results!

Once the painting dried I cleaned it with a little Isopropyl Alcohol to get all the silicone off. Now here’s where I should have added a coat of Liquitex Gloss Varnish first but it slipped my mind. Either way I started to apply the pre-cut tree and deer vinyls which you can get on my CraftyJenn Art Store. They are super easy to peel off and then just stick them onto the painting.

Once I had the vinyls in place I proceeded to drill small holes randomly all over in the sky. I drilled right through the wooden canvas making sure that there were no wooden bits left in the holes obstructing the path for the light. I bought some fairy lights and taped those to the back of the wooden canvas making sure each individual light was blocking one of the holes. It took a bit of time but was totally worth it!

I made sure to then place some painter’s tape along the edges on the back. This way when the resin drips off the bottom and dries you can peel off the tape and the drips will pop off as well. I then leveled the painting and poured a coat of Art Resin over the whole piece. I knew I would probably need a second coat as the resin would fill the tiny holes over time and leave divots in the resin. After the first coat dried I sanded it and poured a second coat and the artwork turned out perfect! The starry twinkle lights shine through the holes and make it look like stars in the night sky behind the pretty trees and deer!!

If you need any acrylic pouring supplies please visit my CraftyJenn Amazon store. When you use my links I get a small commission at no extra expense to you the consumer. I greatly appreciate it!!

APtreesdeer_201911280005-Edit-Edit

Watch me create this pretty Holiday Artwork on my CraftyJenn YouTube Channel!


APtreesdeer_201911280005-Edit-Edit-2

Acrylic Pour

Use Acrylic Pour Paint Skins to make Jewelry!

Hello 🙂 So here’s another use for your paint skins, I use them to make small art pieces for jewelry and purse hangers. I love the paint skins and they turn out with lots of cells and beautiful colors so there’s no reason to waist paint when you can create these skins. I pool all the paint that pours off my paintings and bring it together to create a pretty paint skin. Then I use a 1 inch hole punch to creatively pick a small piece of the paint skin for a beautiful art piece for a jewelry pendant.

Once I cut or punch the circle out of the paint skin I use some modge podge to glue it into a blank pendant or purse hanger. This just helps to keep it in place and flat for pouring resin over it. Once the resin is poured over it I let it cure and voila!

For all your acrylic pouring supplies please visit my CraftyJenn Amazon Store!

Here are some quick links;

Here’s my video where I show how I use the hole punch and paint skins to create jewelry:

Â