Acrylic Pour, Baby, cricut

Nursery/Baby/Newborn DECOR Acrylic Pour!

So I came up with idea for some nursery decor for babies and newborns using my acrylic poured canvases. I wanted to still see the whole acrylic pour but wanted the letters to stand out and the rest be subdued so I thought about one of the pours I did where when I used Modge Podge and sand it subdued the acrylic pour and allowed some to show through but not at full strength.

I used my Cricut Explore Air 2 for this project but you can also draw on your acrylic pour and just paint the Modge Podge around the letters. I just found it easier to have the Cricut cut the letters out of vinyl and then paste them onto the acrylic pour and put the Modge Podge and sand over the whole thing. Then I just peeled off the vinyl letters and voila!

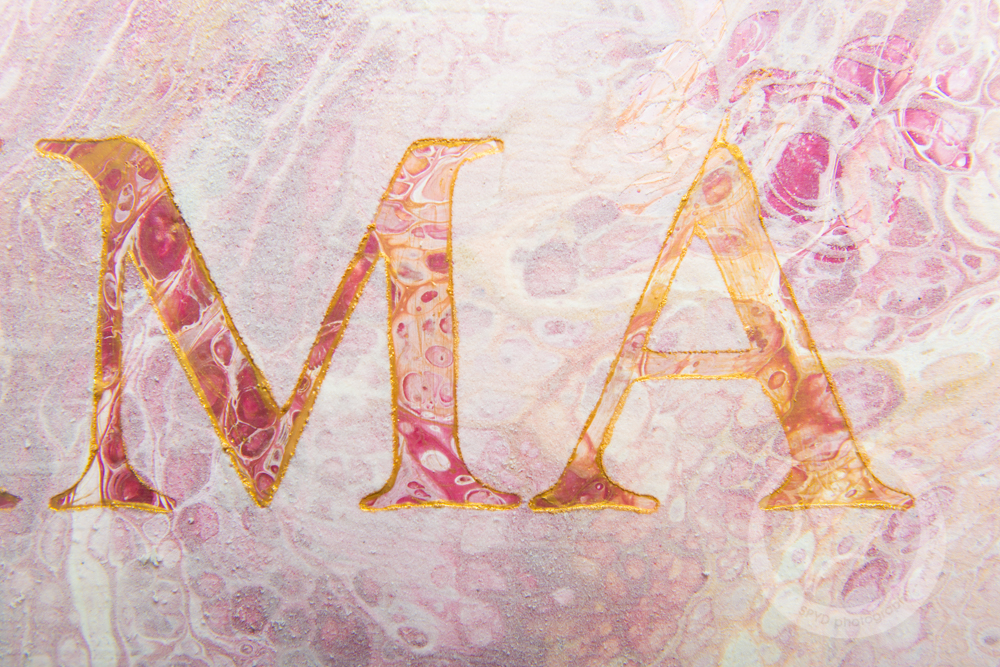
Though the letters didn’t stand out as much as I’d like so I used some watered down gold paint to accentuate the letters even more and I LOVE the result! It’s a super cute personalized nursery painting with baby’s name on it!

You can watch how I made this by visiting my CraftyJenn Youtube Channel!

For Acrylic Pouring Supplies click HERE.

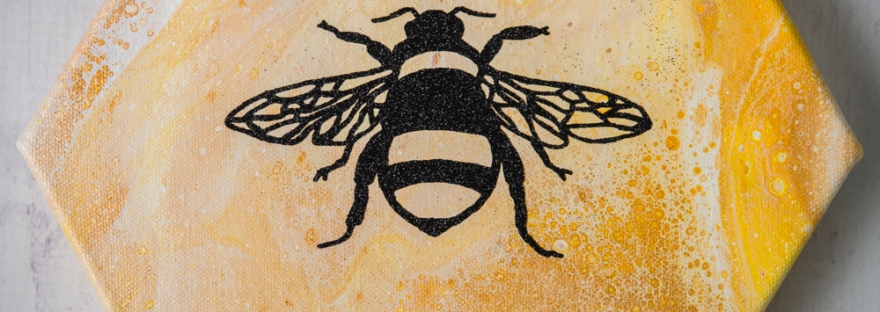
Here’s a photo of the BEFORE;

AcrylicPour_201804240003

And AFTER;AcrylicPour_201805010024AcrylicPour_201805010025AcrylicPour_201805010027AcrylicPour_201805010026

cricut

Christmas Shadow Box with Lights!

So I was looking on Pinterest for some good gift ideas and came across this Christmas Shadow Box and thought I’d try it. I think it turned out pretty cute. I got a shadow box frame from Michaels and the image in the background is a stock photo. You can use stock photos or wrapping paper with trees on it, what ever will work for you:)

I used my Cricut Explore Air 2 to cut the white trees, deer and Merry Christmas that you see on top of the glass also using Happy Crafters White Vinyl. After weeding I simply used transfer paper to put it on the front of the frame glass.

Then I glued the image on the wooden backing, placed some tiny fairy lights inside the shadow box, added some fake snow and glued the battery pack to the back of the frame and Voila!

I think it makes a beautiful home display for Christmas!

XmasShadowBox_201711260004XmasShadowBox_201711260007

Acrylic Pour, cricut

#SaveTheBees Acrylic Pour

So I love the environment and all creatures and animals within it. I also was introduced at a photography convention to these awesome hexagon canvas frames from GOframe. They are usually used for photographs printed onto un-stretched canvas and then you can stretch the image over their frame but I thought of an idea. I LOVE the hexagon shape and decided to stretch plain canvas over the frame. I used Gesso on the raw canvas but only after did I realize that when the Gesso dried it tightened the canvas and pulled up on the sides. See photo below;

AcrylicPour_201709280015

*So in the future I will cut extra canvas around the sides and pull it over the bottom and staple it into the wood. That way it will stay in place and the Gesso can dry without pulling up on the sides.*

So you can watch my acrylic pour on this hexagon canvas on my CraftyJenn YouTube Channel! Please subscribe if you like:)

After the acrylic pour dried I used my Cricut Explore Air 2 to cut a bee and the phrase “#savethebees” out of really pretty black heat transfer vinyl. I did have a bit of difficulty getting the HTV to stick to the painting. I placed a cotton sheet over the painting and heated up the surface with the iron then placed the HTV onto it. I re-applied the cotton sheet and used the iron to heat the design. Some areas did stick but others did not and great care should be used when ironing the middle as you don’t want to puncture the canvas. So after applying lots of heat I was able to get the HTV to stick and I think once I coat the whole thing with resin it will really pop and look amazing!